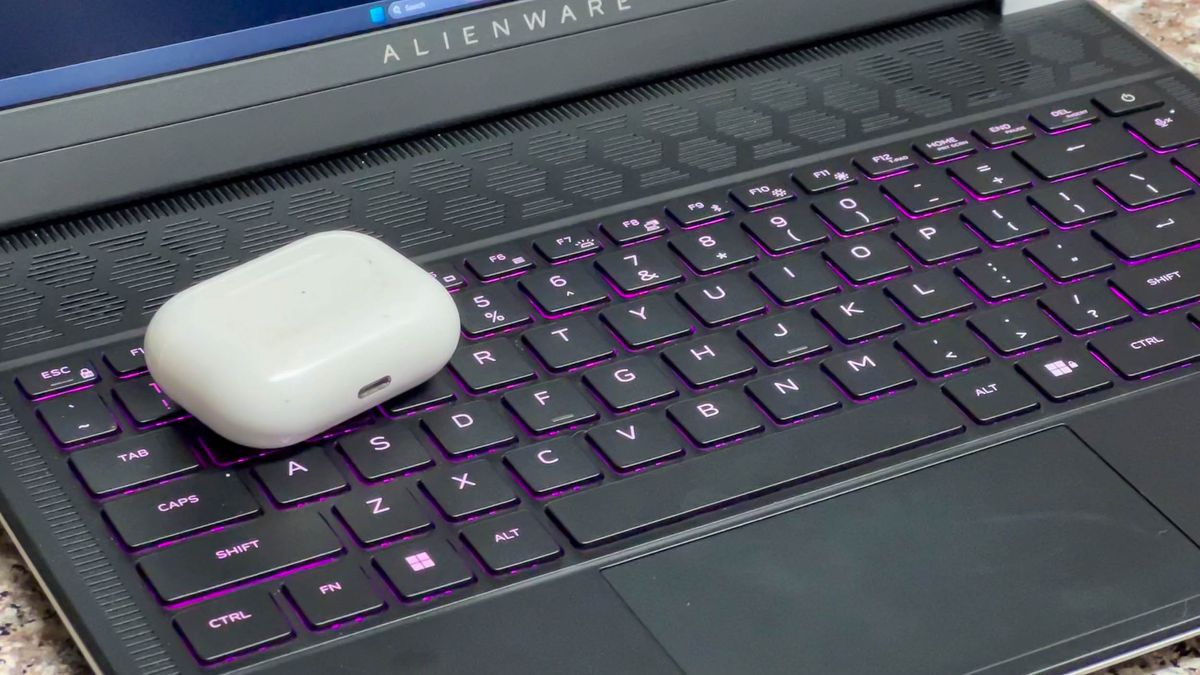
Pairing your AirPods with your MacBook, or any Apple device for that matter, is incredibly easy and seamless. All you have to do is open the case with the AirPods inside, hold it near your device, and follow the prompts. It’s a classic Apple feature that allows their devices to effortlessly connect and communicate with each other, giving you the convenience to sit back and relax.
However, when it comes to connecting your AirPods to a Windows laptop, the process is a bit different. Apple devices are not designed to seamlessly integrate with non-Apple devices, but this doesn’t mean it’s impossible. AirPods, whether they are an older generation or the latest one, utilize Bluetooth technology. This means that as long as your Windows laptop has Bluetooth connectivity, you can definitely pair your AirPods with it. The process is similar to pairing any other Bluetooth headphones with a laptop.
Here is a step-by-step guide on how to connect your AirPods to a Windows laptop:
1. Put your AirPods in pairing mode: If it’s the first time connecting your AirPods or they are not currently paired with any device, simply open the case to put them in new pairing mode. If they have already been paired, locate the pairing button on the back of the case (or the Noise Control button for AirPods Max) and press and hold it until the status light flashes white. This indicates that they are in new pairing mode.
2. Open Bluetooth settings on your Windows laptop: Go to Settings > Bluetooth & devices > Devices on your Windows laptop. Alternatively, you can type “Bluetooth” in the Search Bar next to the Windows icon and select “Bluetooth and other devices settings” to open it quicker.
3. Add a Bluetooth device: In the Bluetooth settings window, find the option that says “Connect a new device” and click on “Add device.” A small window will appear, allowing you to choose the type of device you want to add. Select Bluetooth, which will show you a list of available devices in pairing mode.
4. Select your AirPods to pair: If your AirPods are in pairing mode, they should appear in the list of devices. Simply select them from the list and wait for the successful connection. This should only take a couple of seconds.
Final Thoughts:
After successfully connecting your AirPods to your Windows laptop, it’s possible that Windows might not automatically select them as the primary sound output. To ensure that your AirPods are selected, click on the Sound and speaker icon on the right-hand side of the Windows Taskbar. This will bring up the Quick settings panel, where you’ll find the Volume bar and the “Select a sound output” icon next to it. Click on the “Select a sound output” icon and choose your AirPods from the list if they are not already selected. This will ensure that any audio from your Windows laptop will be played through your AirPods.
Pairing your AirPods with a Windows laptop is a simple process that allows you to enjoy the convenience and quality of your AirPods across different devices. So, whether you’re using a MacBook or a Windows laptop, you can always rely on your AirPods for a seamless audio experience.

I have over 10 years of experience in the cryptocurrency industry and I have been on the list of the top authors on LinkedIn for the past 5 years.

